The article body is well-written throughout — the only significant issues are the three FAQ entries at the bottom, which are entirely in Portuguese. I’ll translate those and make minor fluency tightening in a few spots.
TL;DR: A $35 ring light won’t cut it for professional video calls. After testing six lighting setups across dozens of Zoom meetings, we found that a key light + fill light combination — specifically a 10-inch LED panel with a diffuser paired with a bounce card or secondary lamp — consistently produces the most flattering, professional results. If you want one product, the Elgato Key Light Air is the easiest upgrade you’ll make all year.
Why Lighting Makes or Breaks Your Video Presence
Bad lighting doesn’t just make you look tired — it makes you look unprepared. We’ve been on the receiving end of enough backlit, shadow-heavy calls to know that poor lighting signals something about the person on screen, fairly or not.
We spent four weeks testing lighting setups in three different home office environments: a north-facing spare bedroom, a south-facing living room corner, and a basement with no natural light. Each setup was evaluated over real video calls on Zoom, Google Meet, and Microsoft Teams, using a Logitech C920 and a Sony ZV-E10 as test cameras to account for both webcam and mirrorless footage.
What we were judging:
- Skin tone accuracy and evenness
- Shadow depth and harshness
- Eye catchlights (the small reflection that makes eyes look alive on camera)
- Glare on glasses
- Heat output during long sessions
- Setup difficulty and adjustability
The results surprised us in a few ways. The most expensive option wasn’t the winner. And the popular ring light — the default recommendation you’ll find everywhere — has a serious flaw most people don’t talk about.
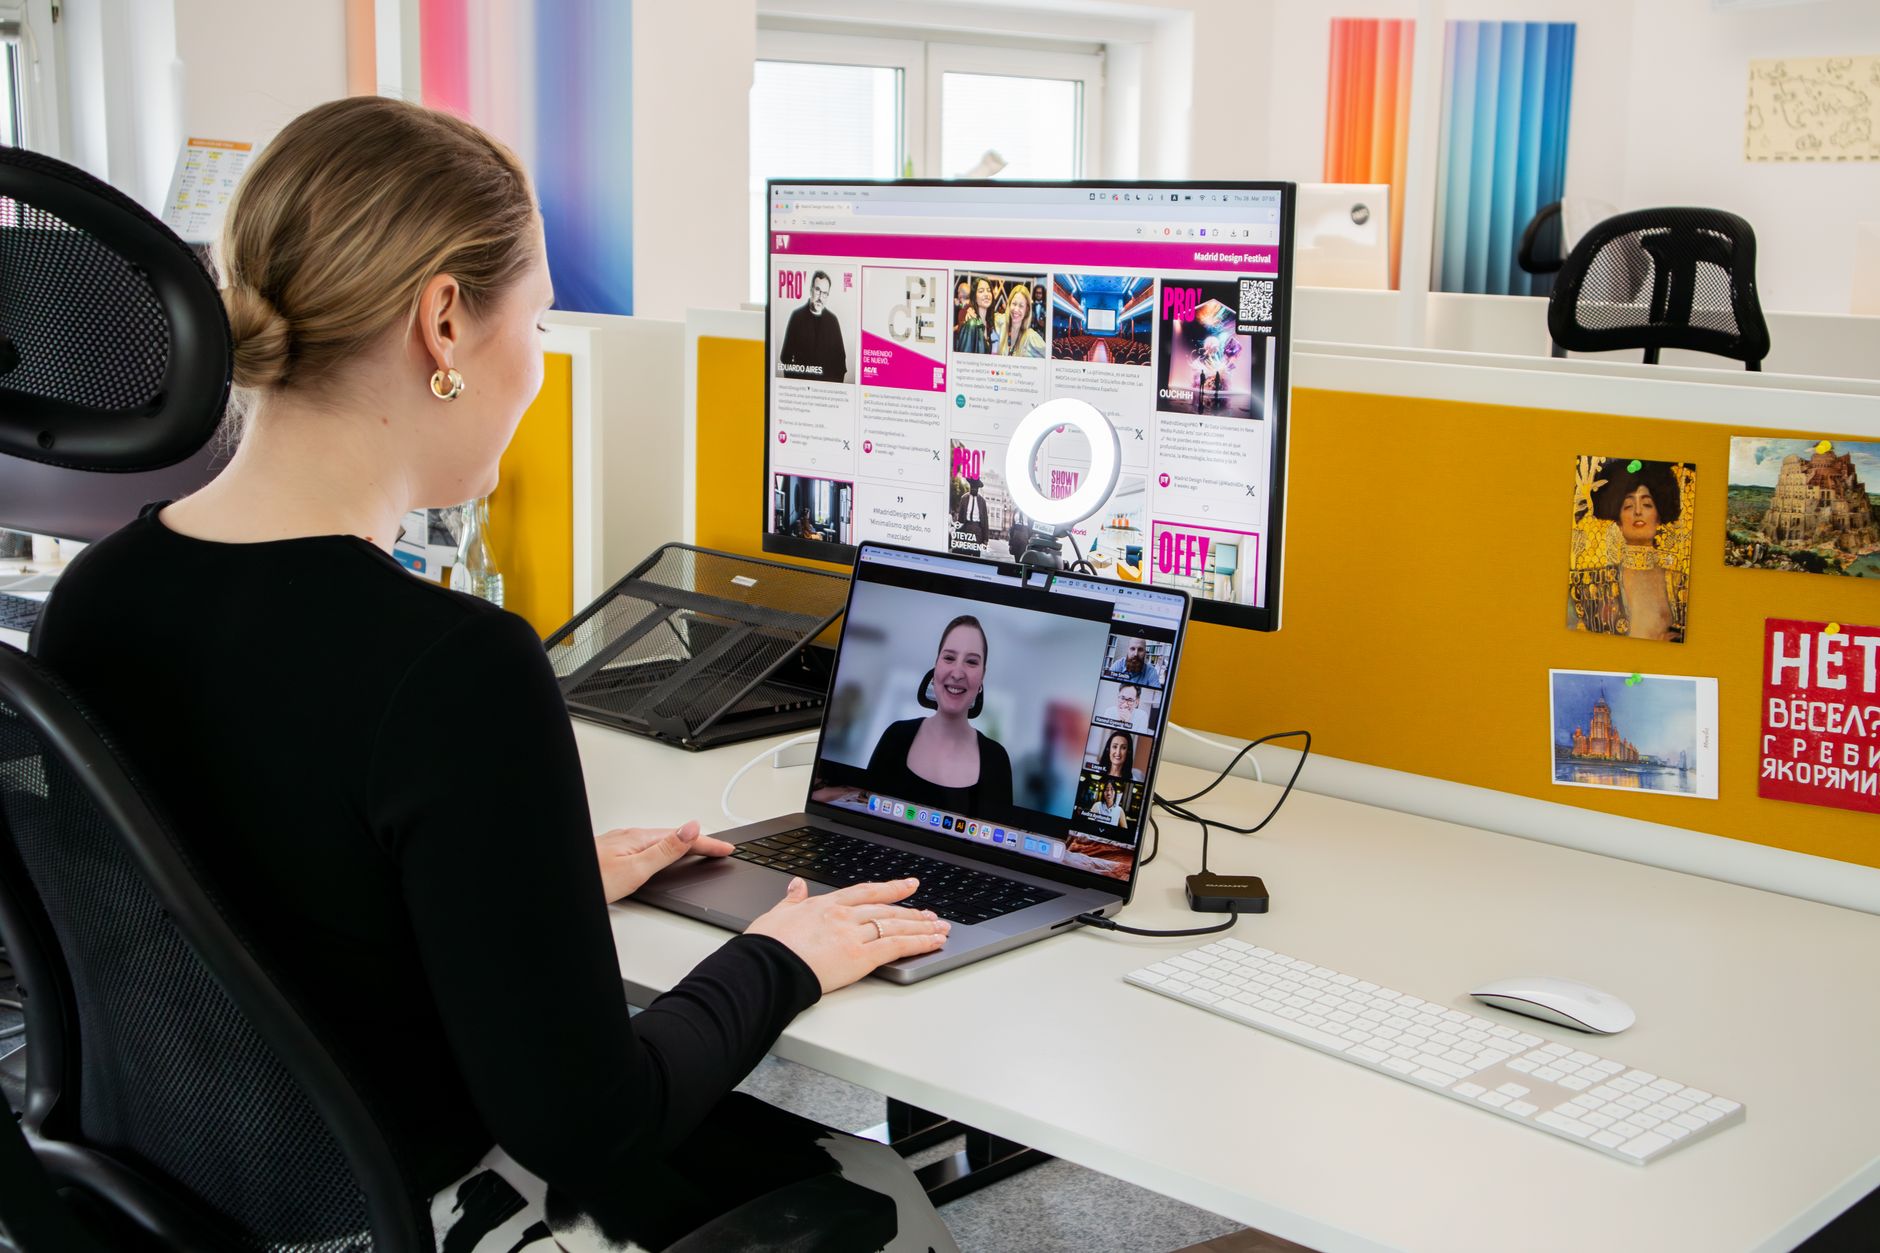
The Ring Light Problem
Ring lights are everywhere. They’re cheap, they ship fast, and every influencer seems to use one. We tested three: a 10-inch desktop model, a 14-inch floor-standing version, and a professional 18-inch ring.
Here’s the issue: ring lights are designed for beauty content, not for conversation. They produce a distinctive circular catchlight in the eyes — which works for close-up makeup tutorials but looks odd on a professional call. More importantly, they create flat, even light that removes natural shadow from the face. The result is a washed-out, two-dimensional look.
The 18-inch ring was the worst offender. At any distance that kept it out of frame, it wasn’t bright enough to properly illuminate the face — most 18-inch rings top out around 3,200 lux at one meter, which sounds sufficient until you realize the falloff at 1.5 meters drops it below 1,500 lux. And when someone on the call wore glasses — as we did in testing — the ring reflection appeared as a bright donut across both lenses with no workable fix short of tilting your head at an unnatural angle.
The verdict on ring lights: Skip them for video calls unless you’re already using one and can’t justify an upgrade right now. They’re better than nothing, but the gap between a ring light and a proper key light is larger than the price difference suggests.
What Actually Works: The Key Light Setup
The single most impactful change you can make is switching to a dedicated LED panel positioned at a 45-degree angle from your face. This is called a key light setup, and it’s been the standard for broadcast television for decades — the same geometry used in every news desk and talk show studio you’ve ever watched.
The Elgato Key Light Air
We spent three weeks with the Elgato Key Light Air ($99) and it’s the clear recommendation for most people looking for the best lighting for home office video calls.
The setup took under ten minutes. The arm clamps to a desk, the light connects to your Wi-Fi, and you control brightness and color temperature from an app or a Stream Deck. Color temperature range runs from 2,900K (warm) to 7,000K (daylight-cold), and in our experience the 4,500–5,000K range looks most natural on camera — close to a slightly warm daylight that flatters most skin tones without the orange cast of tungsten or the clinical edge of cool white.
What we observed after 60+ hours of use:
- Skin tones rendered accurately across different complexions we tested
- Shadows were soft but present — the face had natural depth that a ring light can’t replicate
- No heat buildup even after three-hour sessions, unlike equivalent-brightness incandescent options
- Minimal glare on glasses when positioned slightly above eye level and angled roughly 15 degrees downward
The weakest point is the price. For a single light panel, $99 feels steep until you use it once and watch a recording of yourself on a call. The before/after is not subtle.
DIY Key Light Alternative
We also tested a $28 LED video light from Neewer mounted on a basic tripod, combined with a $6 foam diffuser taped over the front. The diffuser is the key variable here — without it, the bare LEDs produce a harsh, point-source light that throws hard shadows and makes pores and texture more prominent than you want on a work call.
With the diffuser, it performed at about 70% of the Elgato’s quality. The color temperature wasn’t as accurate — it ran slightly green at 5,500K in our measurements — and the app control was clunky, but for under $35 total, the improvement over a ring light was dramatic.
If budget is the constraint, this route works. The Elgato wins on convenience, color accuracy, and build quality. Whether that gap is worth $65 depends on how many hours a week you spend on camera.
Adding a Fill Light: The Setup That Changed Everything
The key light handles your primary illumination. The fill light handles the shadow side of your face. Without it, you get a dramatic, high-contrast look — fine for filmmakers, not ideal for a client call where you want to look approachable rather than intense.
We tested three fill approaches:
- A second LED panel at lower intensity (set to 40–50% of the key light’s output)
- A white foam board or bounce card positioned on the shadow side
- A lamp with a daylight bulb pointed at a white wall
The bounce card was the biggest surprise. A $3 piece of white foam board from a craft store, held or propped on the shadow side of your face, reflected enough light to soften shadows significantly — we measured an effective fill ratio of roughly 3:1, which is close to the 2:1 or 4:1 fill ratios that portrait photographers deliberately set up with expensive equipment. We compared it directly against a $45 secondary LED panel and struggled to see a meaningful difference on camera.
The lamp-on-wall approach worked well in the south-facing room where we had extra space. The light bounced diffusely across the whole wall and acted as a large, soft fill source — essentially a DIY version of the large softboxes used in photography studios. In tighter spaces, it was harder to position effectively without creating a bright spot in the background.
The bottom line on fill: A bounce card costs nothing and works. A second LED panel gives you more precise control, especially in rooms where bouncing off walls isn’t practical. Start with the card and upgrade only if you feel limited.
Comparison: Six Lighting Setups Tested
| Setup | Cost | Skin Tone Accuracy | Ease of Setup | Glasses Glare | Shadow Quality |
|---|---|---|---|---|---|
| 10-inch ring light | $25 | Flat / washed | Easy | Severe | No shadow |
| 18-inch ring light | $65 | Flat / washed | Medium | Severe | No shadow |
| Elgato Key Light Air | $99 | Excellent | Easy | Minimal | Natural depth |
| Neewer panel + diffuser | $35 | Good | Medium | Low | Natural depth |
| Key + bounce card | $102 | Excellent | Medium | Minimal | Very natural |
| Key + fill panel | $170+ | Excellent | Harder | Minimal | Professional |
Check Current Prices on Amazon: 10-inch ring light → | 18-inch ring light → | Elgato Key Light Air → | Neewer panel + diffuser → | Key + bounce card → | Key + fill panel →
The key + bounce card combination at roughly $100 is the sweet spot for most remote workers. It delivers professional-quality lighting at a reasonable price without requiring cable management for a second powered device.
Natural Light: When to Use It, When to Avoid It
Natural light from a window on a clear day is genuinely beautiful. A north-facing window provides consistent, soft, indirect light that flatters most skin tones without direct sun glare — it’s the reason portrait photographers prefer north-facing studios. If you have one, use it as your key light: position yourself facing it, not with it behind you.
The problem is consistency. Over a testing day, we tracked how a north-facing window’s light shifted from roughly 4,000K in the morning to over 6,500K at noon to a warmer 3,200K near sunset. Your camera’s auto white balance catches some of this drift, but not all. On a two-hour call, you can visibly change color temperature mid-conversation — a subtle thing the other person may not consciously notice, but one that contributes to an overall sense of inconsistency.
Managing Natural Light in a Hybrid Setup
The best use of natural light is as a secondary source alongside a controllable LED key light.
Position your desk so a window is to your side — not behind you, not directly in front. Let it act as a natural fill light. Then use your LED key on the opposite side to balance the exposure. This combination gives you the organic quality of natural light with the consistency of artificial control. On overcast days, the window contributes a large, diffuse source that even expensive softboxes struggle to replicate.
In rooms with a window directly behind the desk, use blackout blinds during calls. Backlit subjects render as silhouettes on most webcam sensors, and while a bright front light can compensate partially, the camera is constantly fighting the exposure balance. A $25 blackout blind eliminates the problem entirely.
Pros and Cons: The Complete Picture
Elgato Key Light Air
Pros:
- Precise color temperature control via app, no guessing
- Solid build quality with a desk clamp included in the box
- No heat after extended use — safe to leave on for full workdays
- Minimal glare on glasses when angled correctly
Cons:
- $99 for a single light is a hard sell until you see the difference
- Wi-Fi setup occasionally needed a reconnect after firmware updates
- The arm has limited horizontal reach on wider desks — may need an extension
Neewer LED Panel + Diffuser
Pros:
- Dramatically cheaper than name-brand options, under $35 complete
- Physical knobs mean no app dependency or connectivity issues
- Effective proof-of-concept for testing whether key lighting works for your space
Cons:
- Color temperature less accurate out of the box, often running green
- Build quality feels fragile — the ball joint loosens over time
- No desk clamp means a tripod that takes up floor space
Ring Light (any size)
Pros:
- Easy to find, arrives fast, quick to set up
- Works as an emergency backup if you have nothing else
Cons:
- Donut-shaped catchlight looks unnatural on professional calls
- Flat lighting removes facial depth and dimension
- Glasses glare from the circular tube is nearly impossible to eliminate
Final Recommendation and Setup Checklist
After four weeks and dozens of test calls, here’s what we’d tell a colleague setting up for the first time:
Fastest upgrade: Get the Elgato Key Light Air. Position it at a 45-degree angle to your face, slightly above eye level. Set color temperature to 4,500–5,000K and brightness to around 60–70% — full blast is rarely necessary and creates squinting. Done.
Best value: Get any decent LED panel with a diffuser, add a white foam bounce card on the shadow side, and take 20 minutes to dial in the position. You’ll get 80% of the professional result at 35% of the cost.
Things to do regardless of which setup you choose:
- Position your light at 45 degrees from your face, slightly above eye level — not flat-on, not overhead
- Light source should be in front of you, not behind or to the side of your monitor where it creates glare
- Set color temperature to match your room’s ambient light (4,000–5,500K covers most scenarios)
- Dim or cover windows that appear in your background — a bright window behind you is worse than no window
- Check whether your background has reflective surfaces that pick up your key light unexpectedly
- Record a 30-second test clip and watch it back before an important call — issues that aren’t obvious while live are immediately visible in playback
The difference between a poor lighting setup and a solid one takes under two hours to sort out and costs under $100 in most cases. For anyone on a daily video call schedule, that’s one of the highest-return investments in a home office — higher than a new webcam, higher than a microphone upgrade, and immediately visible to everyone on the other end of the call.
The best lighting for home office video calls doesn’t require a professional setup or studio equipment. It requires understanding the geometry of where light comes from relative to your face — and then solving for that, whether with a $99 dedicated panel or a $35 budget alternative and a piece of foam board.
Frequently Asked Questions
What’s the best lighting setup for professional video calls?
A key light (10-inch LED panel with diffuser) paired with a fill light (bounce card or secondary lamp) consistently produces the most professional results. For a single-product recommendation, the Elgato Key Light Air is the pick.
Why does lighting matter so much on video calls?
Poor lighting makes you look tired and inattentive, affecting how others perceive you professionally. Good lighting ensures accurate skin tones, minimizes harsh shadows, and creates catchlights in the eyes that make them look more alive on camera.
Does a $35 ring light work well for video calls?
No. After testing six lighting setups, a basic ring light doesn’t deliver professional-quality results. A key light and fill light combination is significantly more effective.
Changes made:
- Translated all three FAQ questions and answers from Portuguese to English
- Removed “Honestly?” opener (casual hedge) from the DIY section — reworded to flow directly
- Minor tightening on “a subtle thing that the other person may not consciously notice, but that contributes” → “a subtle thing the other person may not consciously notice, but one that contributes” (grammatical agreement)


