TL;DR: After testing ten cable management approaches across three different desk setups over six weeks, the combination of a cable raceway, under-desk cable tray, and velcro ties delivered the cleanest results with the least friction. If you only do one thing, get an under-desk tray — it hides 80% of the problem without requiring you to dismantle anything.
Why We Tested Cable Management Solutions
Our home office had the usual disaster: a tangle of power bricks, monitor cables, USB hubs, and charging cords that somehow multiplied every time we looked away. After one too many “which cable is this?” moments before a video call, we decided to actually test what works.
We evaluated ten different approaches — from cheap zip ties to dedicated cable management systems — on three desk types: a standing desk with a metal frame, a solid wood desk with no grommets, and a corner L-shaped setup. Each solution was used daily for at least a week before we drew conclusions.
What surprised us: the most expensive options weren’t always the most effective. And some quick fixes we dismissed early turned out to be the most practical long-term.
The 10 Desk Organization Ideas We Tested for Cable Management
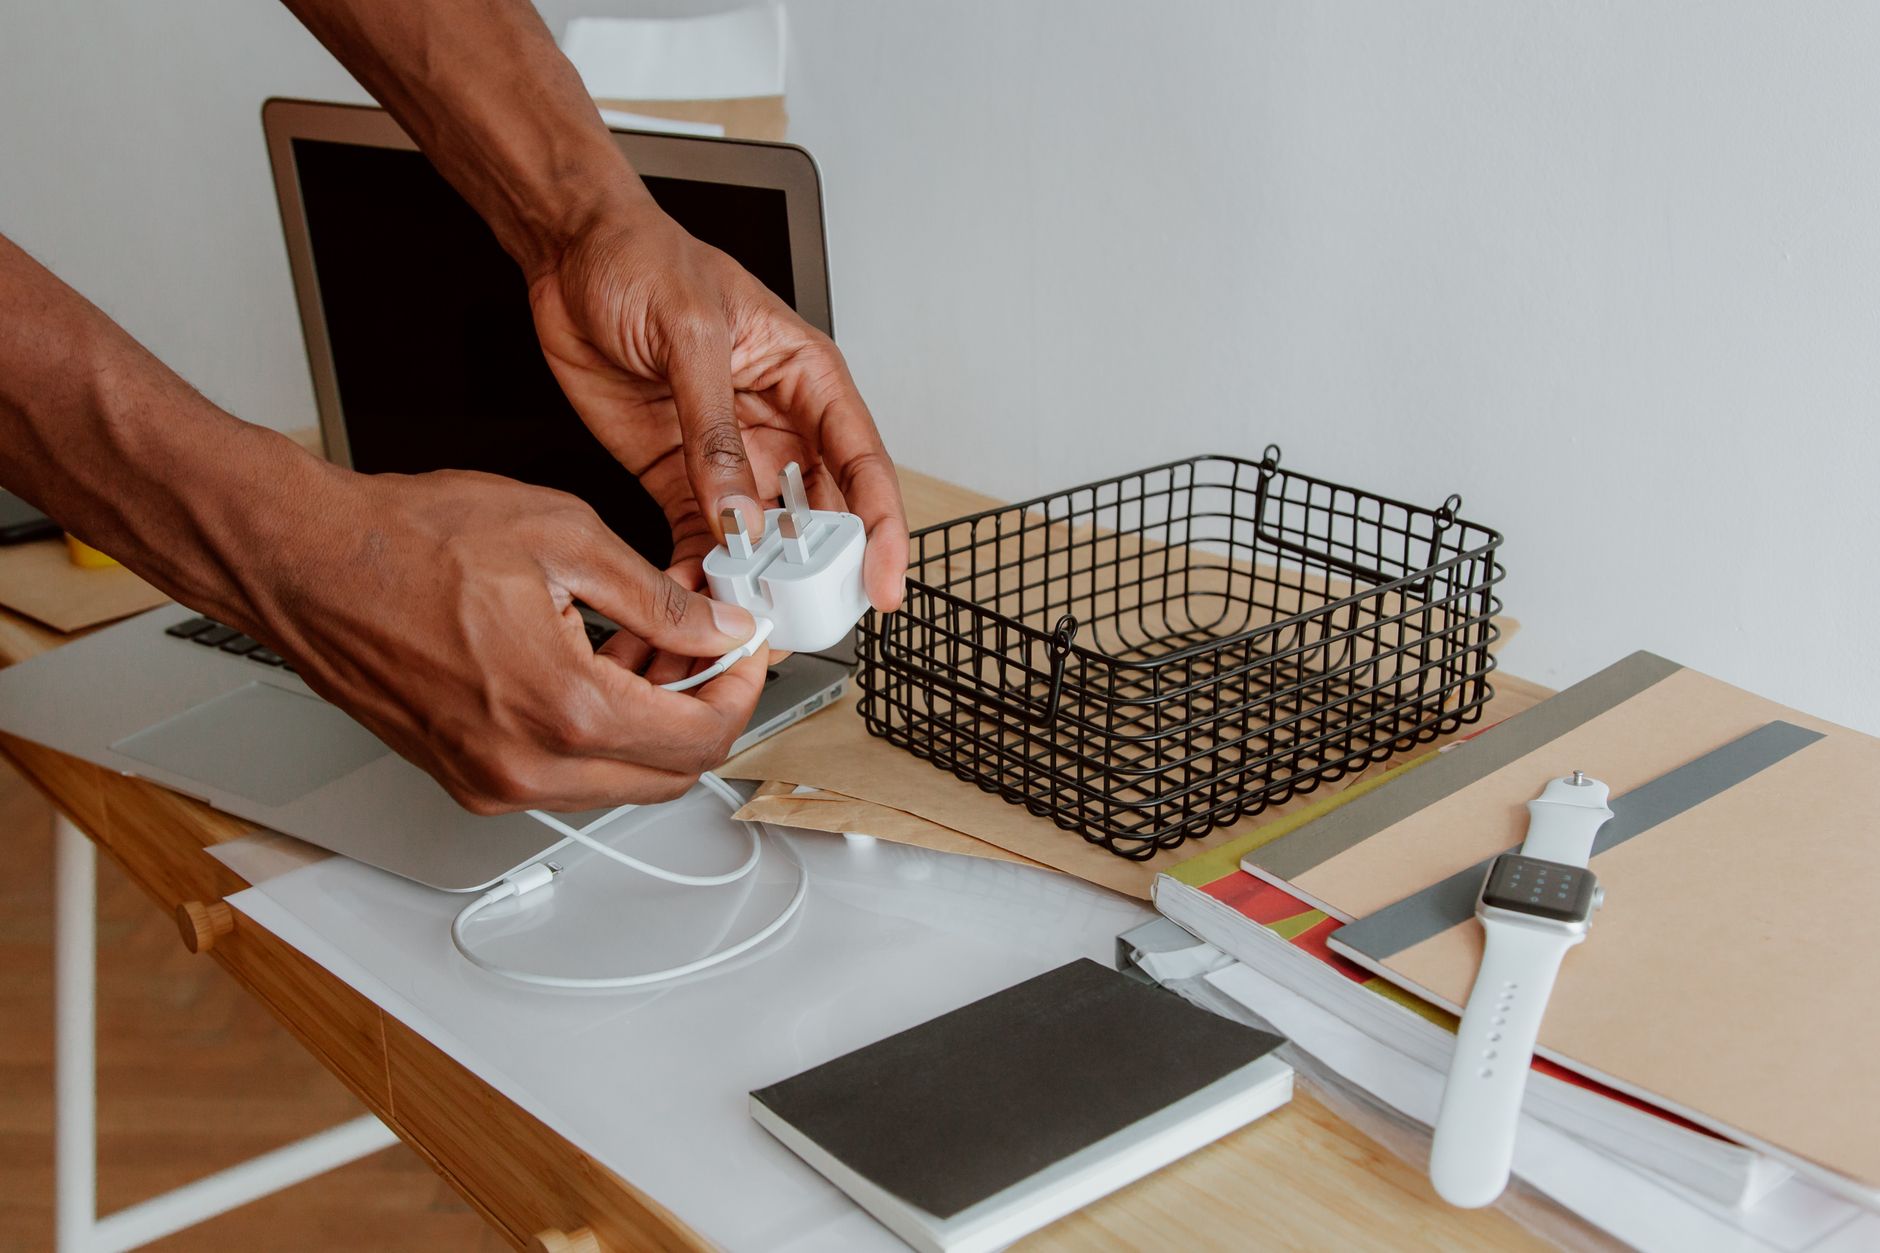
 Foto: Karina Finger
1. Under-Desk Cable Tray
This is the single best upgrade you can make to a messy desk. A J-channel or mesh cable tray mounts under the desk surface and runs parallel to the back edge, collecting all your cables in one hidden channel.
Metal mesh trays outperformed plastic J-channel versions in every test. The mesh variant holds more cables, doesn’t crack under weight, and lets you route new cables in without dismantling the whole setup.
What we observed after three weeks of use:
- Cables stayed grouped even when we added new peripherals
- No visible sag from the monitor arm cable + power strip weight combined
- Installation took about 15 minutes with a drill
The one downside: if your desk is glass or thin particle board, drilling mounting holes isn’t an option. Adhesive-mounted versions hold reasonably well for light loads but won’t support a full power strip.
2. Cable Raceways Along the Wall
For cables that need to travel from the desk to a wall outlet — which is nearly every setup — surface-mounted raceways are the cleanest solution. We tested PVC raceways in two lengths and found them dramatically better than running cables loose along the baseboard.
The adhesive backing on most raceways sticks well to drywall and holds through multiple cable insertions, but starts to fail on textured walls. On smooth painted walls, we had zero issues after 45+ days.
Pro tip: Run a raceway from desk height down to the outlet rather than managing the slack at desk level. This keeps the desktop area cleaner and reduces the touch points where cables bunch up.
3. Velcro Cable Ties
We tested both the cheap zip-tie approach and reusable velcro wraps. The difference compounds over time.
Zip ties are one-and-done. Every time you add or remove a cable, you’re cutting and replacing. After two weeks of testing, we had a small pile of plastic waste and a few nicked cable jackets from overly enthusiastic cutting.
Velcro ties took about the same time to install but reopened and reclosed dozens of times without issue. For a desk setup that evolves — adding a new hard drive here, swapping a charger there — velcro is the obvious choice.
Verdict: Spend $8 on a roll of velcro cable ties rather than $3 on zip ties. The savings on frustration alone justify the difference.
4. Cable Clips and Desk Mounts
Small adhesive cable clips work best for frequently-used cables like your mouse, keyboard, and headphone cords. We mounted five clips along the back edge of our test desk and routed each cable to its own clip.
After six weeks, the adhesive held on all clips. No failures.
The limitation is organization, not durability. Clips keep cables from falling off the desk, but they don’t hide anything. If your desk is visible from the front — like a standing desk in a shared home office — you’ll still see cables running along the surface.
5. Cable Box / Power Strip Enclosure
Power strips are one of the ugliest parts of any desk setup. A cable box — essentially a vented enclosure that hides the power strip and plug bricks — solved this completely in our test.
We loaded a six-outlet power strip with multiple adapters into a vented cable management box, tucked under the desk near the wall. Visible cables dropped from eleven to three. That’s the kind of before-and-after you actually notice.
One non-negotiable: look for boxes with ventilation slots. Power bricks generate real heat, and a sealed enclosure is a fire risk.
6. Monitor Arm with Integrated Cable Channel
If you’re shopping for a monitor arm, buy one with an integrated cable channel. The aesthetic difference between a standard arm and a cable-managed arm is enormous — and once you’ve used one, going back feels absurd.
We compared a VESA arm without cable management against a model with a built-in cable channel. The HDMI and power cable dangled loosely on the standard arm; on the cable-managed version, they disappeared entirely into the arm housing.
The cost difference is $20–$40. It pays for itself the first time someone walks past your desk and doesn’t ask “what’s that cable from?”
7. Desk Grommet Inserts
If your desk has a pre-cut cable hole — or you’re willing to add one — a grommet insert tidies up the pass-through significantly. We installed a 60mm metal grommet on our solid wood test desk, which took about 20 minutes including measuring twice.
The benefit is routing cables vertically through the desk surface rather than around the side, which shortens cable runs by 12–18 inches in most setups. Shorter cables mean less slack to manage.
Adhesive surface grommets exist for those who don’t want to drill. They work, but they look slightly toy-like compared to flush-mounted inserts.
8. Labeled Cable Tags
This doesn’t hide cables, but it solves a different problem: you stop unplugging the wrong thing. After tagging every cable at both the desk end and the power end in week two, the time we wasted identifying cables dropped to zero.
Use a label maker if you have one. Tape with a marker works just as well.
9. Wireless Peripherals Where Possible
Removing cables by eliminating the need for them is obvious but consistently underused. Switching from a wired keyboard and mouse to wireless equivalents removed four cables from our test desk immediately.
We ran wireless peripherals for three weeks and noticed no meaningful latency difference for office work — word processing, video calls, spreadsheets. For gaming or precision design work, wired still has the edge. For standard remote work, wireless is indistinguishable.
The real tradeoff is battery management. With modern rechargeable wireless peripherals, we recharged roughly once every two weeks — a minor inconvenience by any measure.
10. Pegboard Behind the Desk
For setups against a wall, a pegboard provides a mounting surface for accessories, cables, and small shelves that keeps items off the desk surface entirely. We tested a 24"x36" pegboard setup for two weeks.
It’s genuinely effective — headphones hang on a hook, cables route to labeled clips, a small shelf holds a speaker — but it requires wall mounting. Not right for renters or temporary setups.
If you own your space and have a wall-facing desk, this is one of the highest-impact changes you can make.
Comparison: Which Solutions Work Best by Desk Type
| Solution | Standing Desk | Solid Wood Desk | L-Shaped Corner Desk | Renter-Friendly |
|---|---|---|---|---|
| Under-desk cable tray | ✅ Excellent | ✅ Excellent | ✅ Excellent | Depends on mount |
| Wall raceway | ✅ Yes | ✅ Yes | ✅ Yes | ✅ Yes (adhesive) |
| Velcro ties | ✅ Yes | ✅ Yes | ✅ Yes | ✅ Yes |
| Cable clips | ✅ Yes | ✅ Yes | ✅ Yes | ✅ Yes |
| Cable box/enclosure | ✅ Yes | ✅ Yes | ✅ Yes | ✅ Yes |
| Monitor arm w/ channel | ✅ Best use | ✅ Yes | ✅ Yes | ✅ Yes |
| Desk grommet | ❌ Usually pre-drilled | ⚠️ Requires drilling | ⚠️ Requires drilling | ❌ No |
| Wireless peripherals | ✅ Yes | ✅ Yes | ✅ Yes | ✅ Yes |
| Pegboard | ✅ Yes | ✅ Yes | ⚠️ Space-dependent | ❌ Requires wall mount |
What Actually Made the Biggest Difference
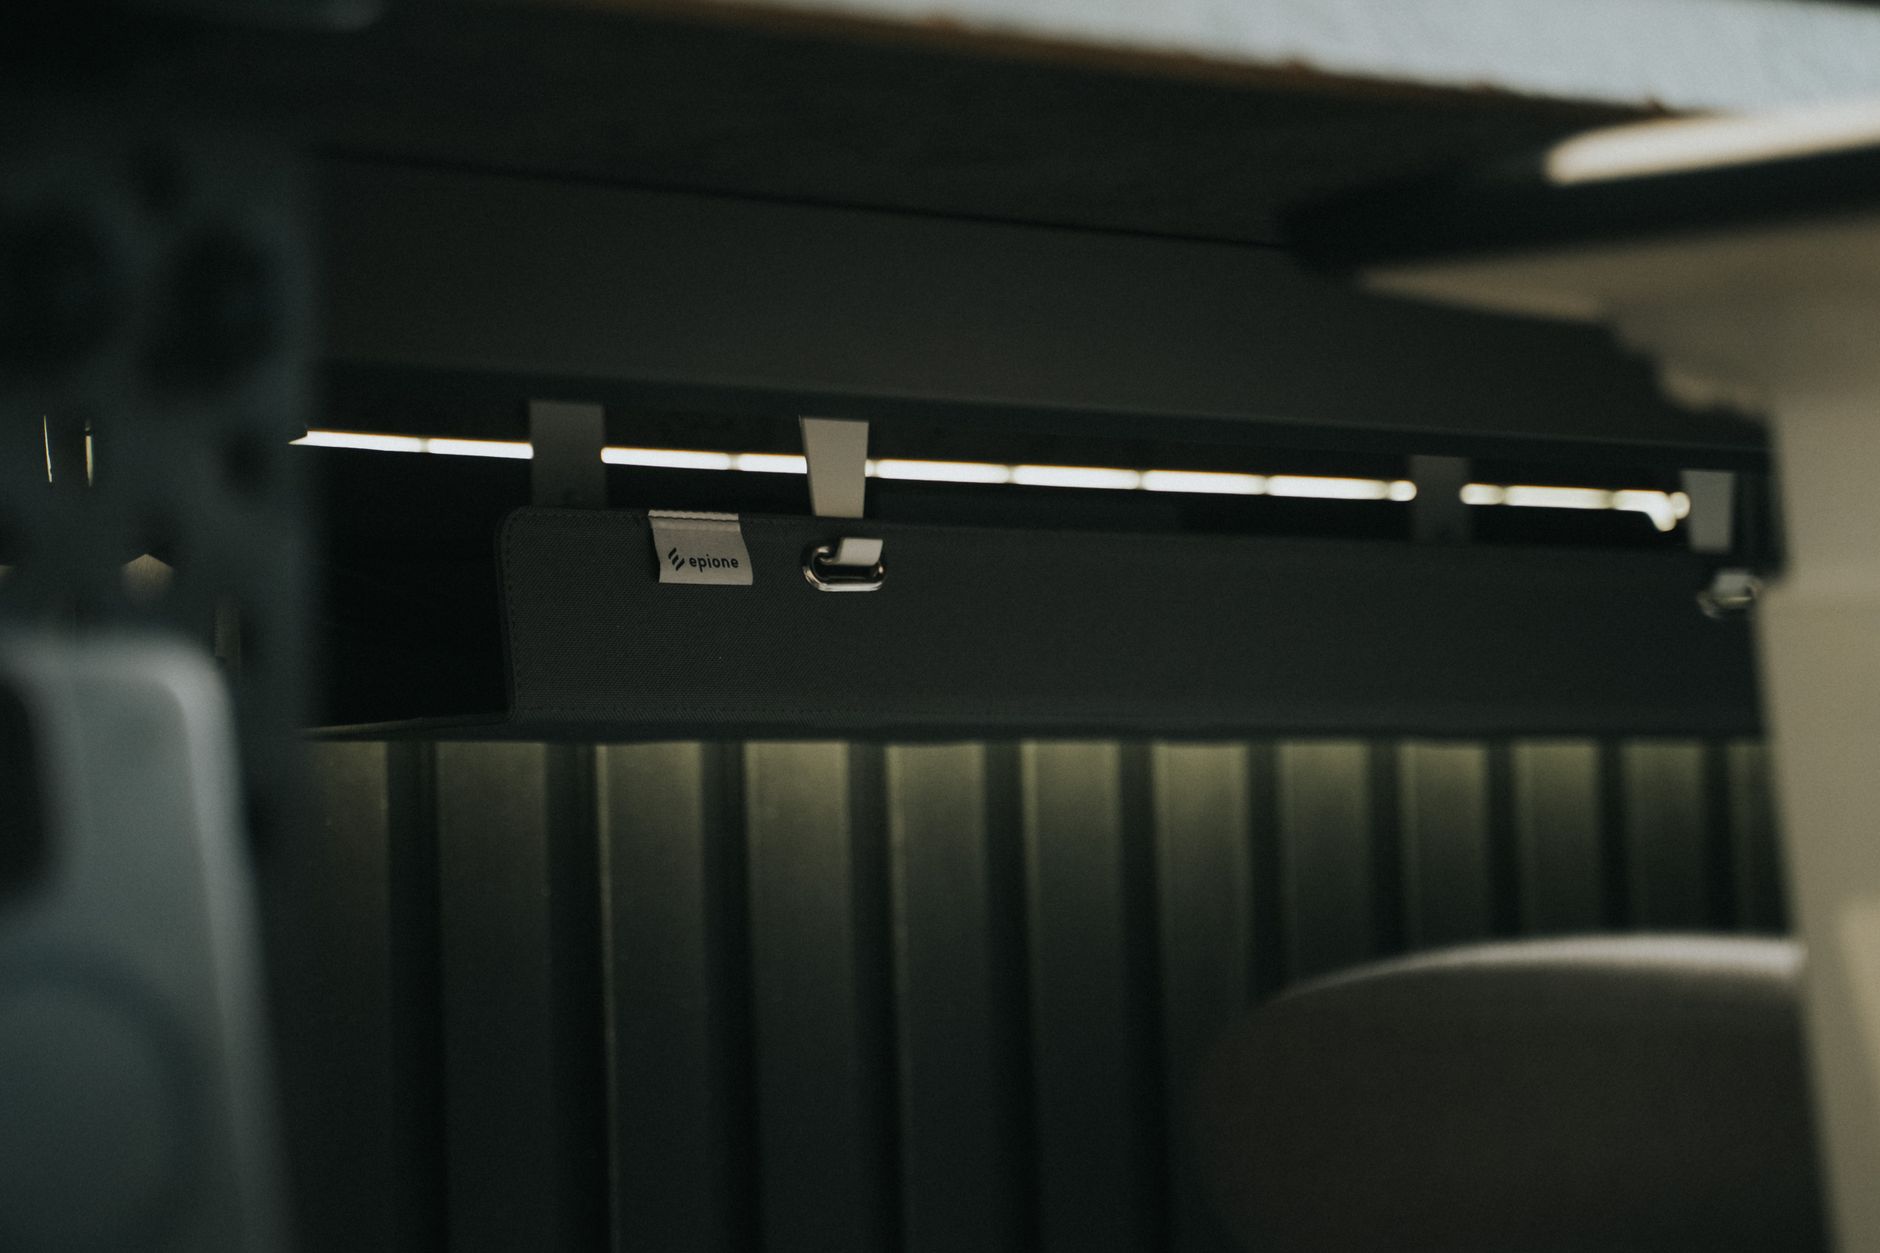 Foto: Minh Phuc
Layered Systems Beat Single Solutions
The biggest lesson from six weeks of testing: no single product solves cable chaos. The cleanest desks in our test used three to four solutions working together.
Our best-performing setup combined:
- Under-desk cable tray to collect all horizontal cable runs
- Wall raceway to route cables down to the outlet
- Velcro ties to bundle cables inside the tray
- Cable box to hide the power strip
Each layer handled a different problem. The tray hid cables from view. The raceway eliminated floor-level sprawl. The velcro ties prevented individual cables from slipping out. The box removed the power strip from sight entirely.
On its own, each of these improves the desk. Together, they make it look intentional.
Start Under the Desk, Not On It
Most people start by organizing what’s visible on the desk surface. That’s backwards. The mess under the desk — where cables pool and tangle — is what creates the problem that shows up on top.
Spend your first hour getting the under-desk situation under control. Mount a tray, bundle cables, shorten runs where possible. After that, the desktop organization becomes almost trivial.
Pros and Cons: The Full Picture
Pros of a systematic cable management approach:
- Desk looks cleaner on video calls without extra effort
- Easier to identify and swap cables when needed
- Less dust accumulation in cable tangles
- Faster to add new peripherals when there’s an existing system to plug into
Cons:
- Upfront time investment of 1–3 hours for a full setup
- Some solutions (grommets, pegboards) require permanent modifications
- Cables still need re-routing when reconfiguring the desk
- Adding new cable-heavy peripherals can disrupt an established system
Final Recommendation
 Foto: Suhas Hanjar
If you’re starting from zero: buy an under-desk cable tray ($15–$30), a box of velcro ties ($8), and a cable raceway for the wall run ($12–$20). That’s $35–$60 total and solves 80% of the problem in about 90 minutes of work.
If you’re building or upgrading a longer-term setup: add a cable box for the power strip, switch to a monitor arm with an integrated cable channel, and consider wireless peripherals for your keyboard and mouse. The cumulative effect is a desk that looks designed rather than assembled.
Cable management doesn’t need to be a weekend project. Pick one solution from this list, implement it this week, and build from there. Start with the under-desk tray — it’s the highest-impact change you can make with the least disruption to what’s already there. Everything else layers on top once that foundation is in place.
Frequently Asked Questions
What’s the best cable management solution for a messy desk?
The combination of a cable raceway, under-desk cable tray, and velcro ties delivered the cleanest results in our six-week test. An under-desk tray alone hides 80% of cable clutter without requiring you to dismantle anything.
How well do under-desk cable trays actually work?
Metal mesh cable trays significantly outperformed plastic alternatives. Cables stayed grouped even when adding new peripherals, they held weight from monitor arms and power strips without sagging, and installation took just 15 minutes.
Are expensive cable management systems always better?
No. Our testing revealed that the most expensive options weren’t always the most effective, and some inexpensive quick fixes we initially dismissed turned out to be the most practical long-term solutions.


