Scanning the article for Portuguese text, AI filler phrases, and fluency issues before returning the corrected version.
Issues found:
- Two
*Foto:*captions →*Photo:* - Entire FAQ section (questions + answers) in Portuguese → needs full translation
You sit down to take a video call, angle your laptop slightly — and there it is. A snarl of cables crawling across your desk, spilling onto the floor, looping behind your monitor like a technical disaster you keep promising yourself you’ll fix. It’s been there for months. Maybe longer.
Cable clutter is one of the most common complaints from home office workers, and it’s not just a visual problem. Tangled wires cause lost productivity (hunting for the right cable), create trip hazards, collect dust, and make every video call look subtly unprofessional.
The good news: there’s no single “best way to hide desk cables” — there are seven, and most of them cost less than $30. By the time you’re done reading this, you’ll have a clear plan to go from chaos to clean in a single afternoon.
Why Cable Clutter Is Worth Fixing Today
Most people frame cable management as cosmetic. It isn’t — or at least, not entirely.
Tangled cables wear faster. When cords are constantly bent, twisted, and pulled in multiple directions, the insulation breaks down. You’ll replace them more often than you should.
Clutter drains mental resources. Princeton neuroscience researchers found that visual disorder competes directly for your brain’s attention, reducing focus and information processing even when you’re not looking at the mess. Your desk is always in your peripheral vision — and it always costs you something.
A clean desk signals professionalism. If you’re on calls with clients, investors, or employers, what’s visible around you matters. A cable-free workspace looks intentional, which says something about how you operate.
The 90 minutes you spend sorting this out will pay you back every single day.
The 7 Best Ways to Hide Desk Cables
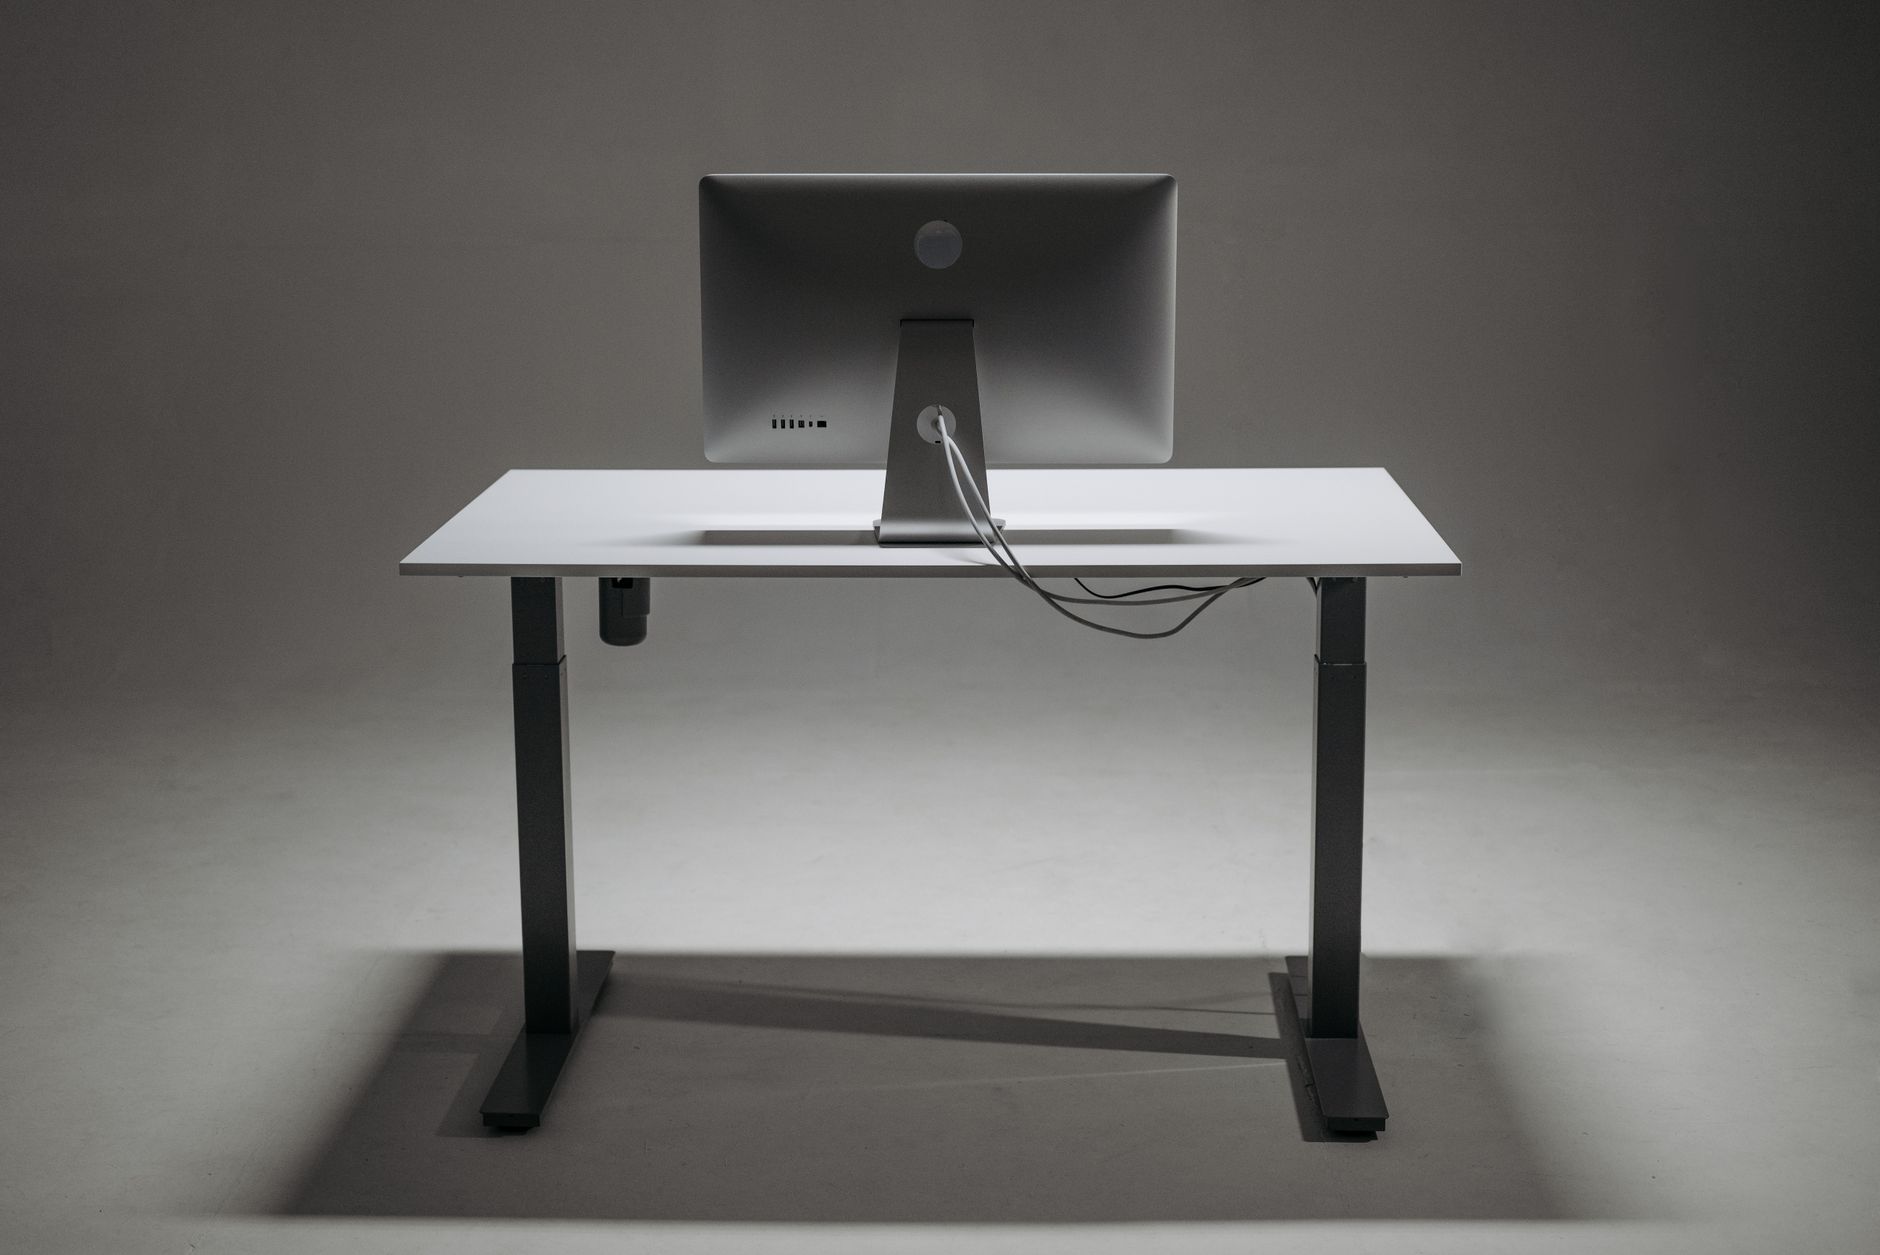
 Photo: Jakub Zerdzicki
You don’t need to pick just one method. The most effective setups combine two or three approaches based on your desk layout, the number of devices you’re running, and whether you’re renting or own your space.
Here’s every proven method, from fastest to most permanent.
Quick Wins: No Tools Required
1. Cable ties and velcro straps
This is where everyone should start. Before you buy anything else, gather all your loose cables and bundle them together with reusable velcro cable ties. Group cables by destination — monitor cables together, charging cables together, audio cables together.
This takes about 20 minutes and costs under $10 for a pack of 50 ties. It won’t hide cables completely, but it transforms a chaotic tangle into orderly bundles you can actually manage.
Use velcro over zip ties. Velcro is reusable and won’t damage cables when you need to reroute them later.
2. Cable clips and adhesive hooks
Stick small adhesive cable clips along the back edge of your desk or underneath the surface to route cables in a straight line instead of a heap. Each cable runs from device to power along a deliberate path, held flat against a surface rather than dangling freely.
These work best for:
- USB cables running from a hub to peripherals
- Monitor power cables running to a surge protector
- Headset or phone charging cables along a desk edge
They’re cheap, removable (most use 3M adhesive), and they make a significant visual difference when combined with velcro bundling.
3. Cable sleeves and spiral wrap
When multiple cables share the same route — from your desk down to a floor-level power strip, for example — a cable sleeve consolidates them into a single clean tube. From across the room, it reads as one intentional cord rather than five accidental ones.
Spiral wrap (the expandable mesh kind) is more flexible and easier to add or remove cables from over time. Fabric sleeves look more polished. Either option dramatically cleans up a floor cable run.
Permanent Solutions for a Clean Setup
4. Under-desk cable trays
A cable management tray mounts beneath your desk and acts as a hidden shelf for your power strip, cable boxes, and excess cord length. Everything that would otherwise live on your floor or desk surface disappears from view.
You screw or clamp the tray to the underside of the desk, drop in your surge protector, and route all cables up through the back or along the rear edge. Seated at your desk, none of it is visible.
This is the single highest-impact upgrade for most home offices. A solid metal tray runs $20–$40 and takes about 30 minutes to install. J-channel clamp-mount versions require no drilling, making them renter-friendly.
5. Cable raceways
A raceway is a plastic channel you mount along a wall or baseboard to route cables from point A to point B without having them cross open space. It snaps open to insert cables, then closes to conceal them — essentially a decorative conduit.
They’re particularly useful for:
- Running cables from a wall outlet to your desk
- Routing monitor cables along a wall-mounted shelf
- Managing a standing desk, where cord length has to accommodate movement between sitting and standing positions
Most raceways come with adhesive backing and can be painted to match your wall. Stick to adhesive versions rather than screws if you’re renting.
6. Wireless and hub consolidation
Sometimes the best way to hide cables is to eliminate them. Before spending money on management hardware, audit your setup for cables you can simply remove.
Switch to a wireless keyboard and mouse. Use a single USB-C hub to consolidate five device cables into one. Add a wireless charging pad instead of separate lightning and USB-C cables sitting on your desk surface.
You won’t reach zero cables — monitors, power, and some peripherals always need a physical connection — but cutting from 12 cables to 6 makes every other management solution twice as effective.
7. Desk grommets and cable pass-throughs
If you’re serious about a clean setup and you own your desk (or are willing to drill), a grommet is a round cutout fitted with a plastic or metal ring that lets cables pass cleanly through the desk surface rather than over or around the edge.
Route your monitor cable, USB hub cable, and power cable through the grommet — they disappear into the desk and surface where needed, with no visible path along the outside edge.
Some desks ship with grommets built in. If yours doesn’t, you can install one with a hole saw and a $10 grommet kit. It’s the cleanest-looking option for a fixed, permanent setup.
Comparing Your Options at a Glance
| Method | Cost | Time to Set Up | Renter-Friendly | Best For |
|---|---|---|---|---|
| Velcro cable ties | $5–10 | 20 min | Yes | First step, all setups |
| Adhesive cable clips | $8–15 | 30 min | Yes (removable) | Routing cables along edges |
| Cable sleeves / spiral wrap | $10–20 | 20 min | Yes | Long floor-to-desk runs |
| Under-desk cable tray | $20–40 | 30–45 min | Yes (clamp mount) | Power strips, cord overflow |
| Cable raceways | $15–30 | 45–60 min | Yes (adhesive) | Wall runs, standing desks |
| Wireless + hub consolidation | $40–100+ | Varies | Yes | Reducing cable count |
| Desk grommets | $10–20 | 45 min | No (drilling required) | Permanent, clean installs |
How to Tackle Your Desk in One Afternoon
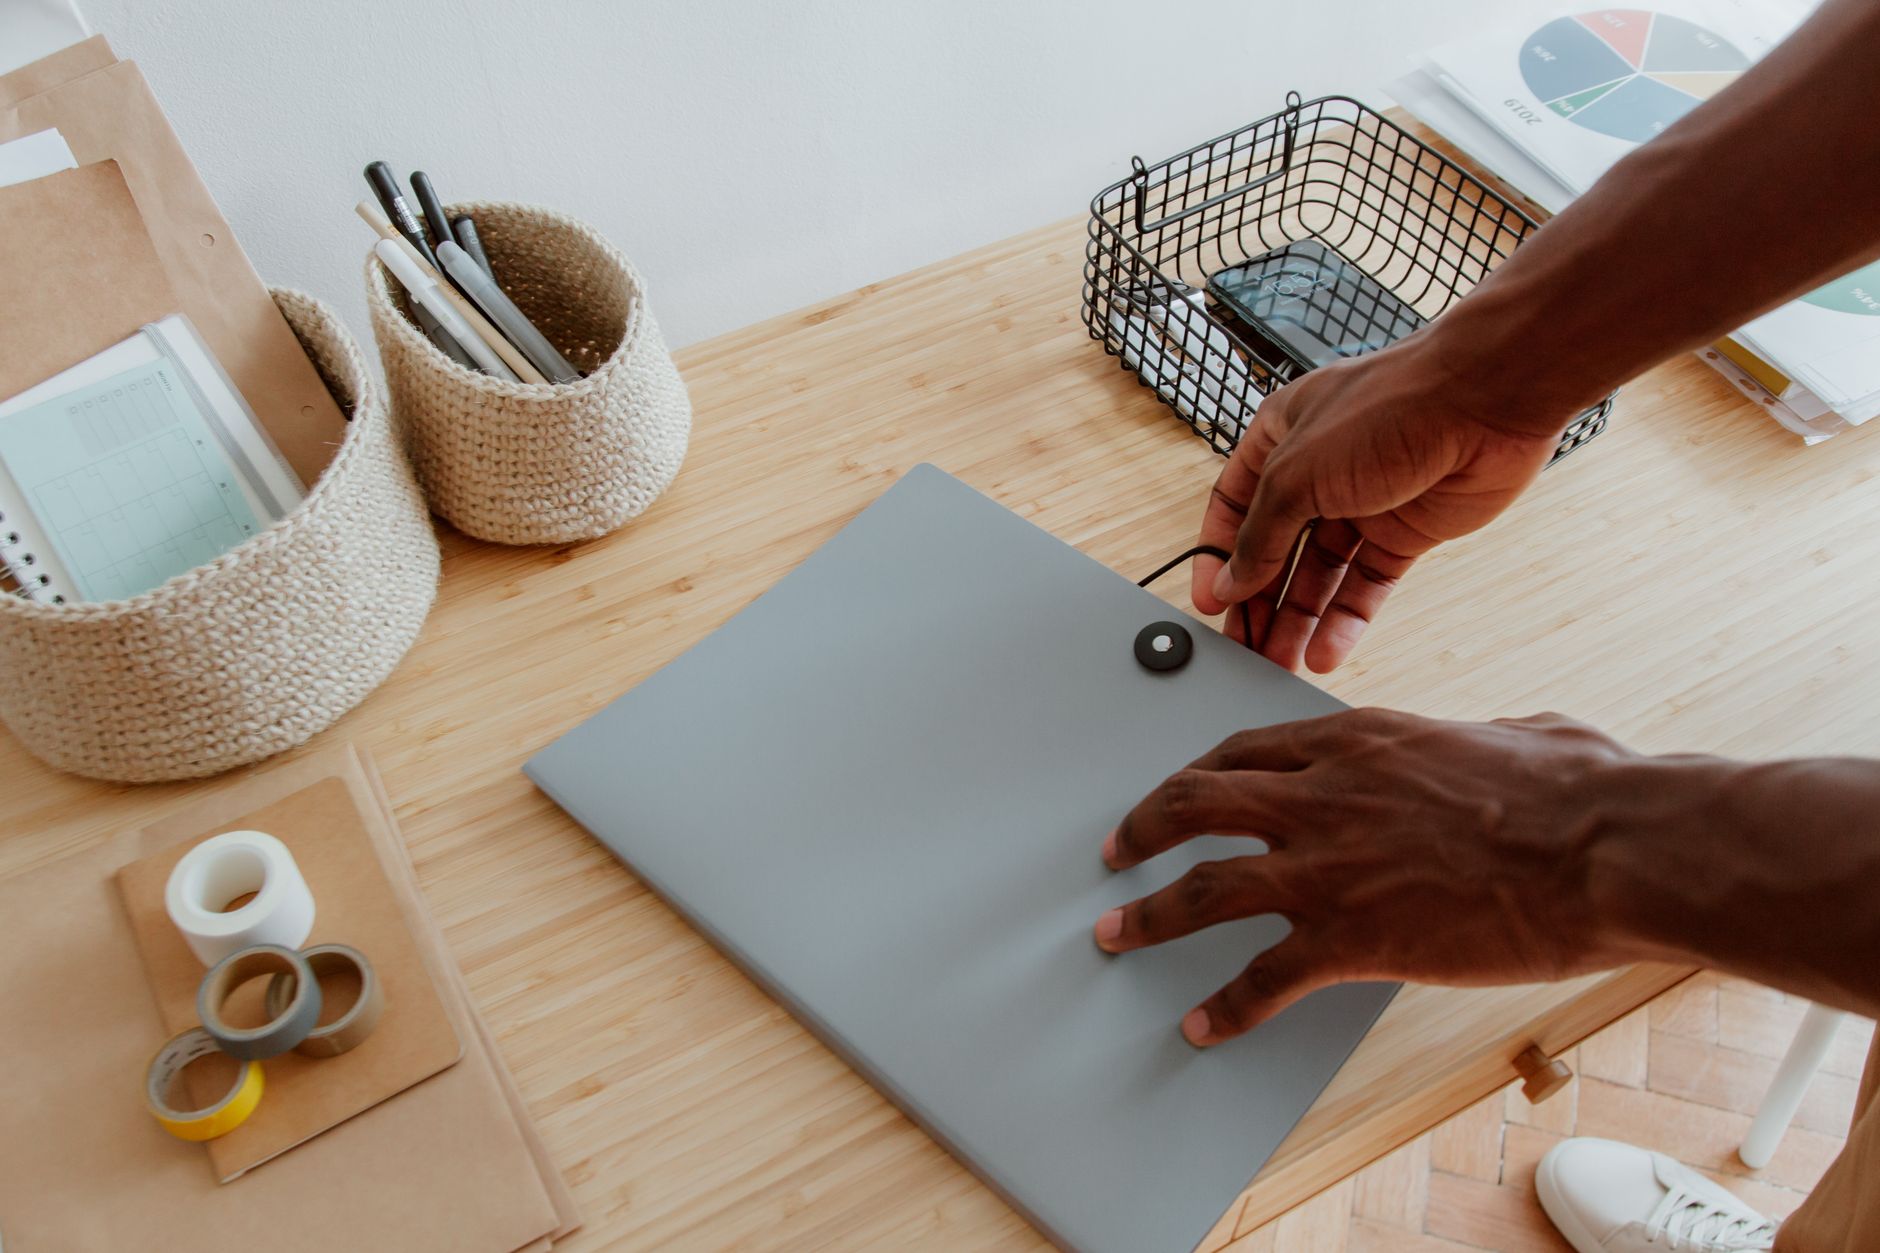 Photo: Ron Lach
Don’t try to manage cables while everything is still plugged in and running. Set aside two hours and do this properly.
Step 1: Unplug everything and take inventory. Pull every cable out. Lay them flat on the floor. Count how many you have, what each one does, and where it needs to go. You’ll almost certainly find two or three cables connected to nothing — remove them entirely.
Step 2: Identify your cable runs. Group cables by their start and end points. Monitor power and display cables both go to the back of the monitor — bundle them. USB hub cables all converge at one hub. Power cables all terminate at the surge protector — that’s your anchor point.
Step 3: Set up your power management first. Mount your under-desk cable tray (if using one) and place your surge protector in it. This hidden hub becomes the destination that everything else routes toward. Getting this locked in before you start routing makes every other decision straightforward.
Step 4: Route cables deliberately. Run each bundle along the cleanest path: across the back edge of the desk, down a single rear leg, into the tray. Use cable clips to hold runs flat. Apply sleeve or spiral wrap to any run carrying more than two cables traveling together.
Step 5: Address the floor-to-wall run. If cables run along the floor to a wall outlet, use a baseboard raceway or cable sleeve to consolidate them into a single clean path. This is usually the most visually dramatic improvement in any setup.
Step 6: Label and photograph. Before everything goes back together, put small labels on each cable end using masking tape and a marker. Photograph your final routing from a few angles. When you need to unplug something six months from now, you’ll thank yourself.
Maintaining a Clean Setup Over Time
The most common reason cable management breaks down: you solve it once, then add devices without maintaining the system. A new webcam, a second monitor, a ring light — each one introduces cables that bypass your existing organization.
Route new cables deliberately on the same day you add a device. Keep a small supply of velcro ties and adhesive clips in a desk drawer so there’s no friction to doing it right immediately.
If your setup changes significantly — new standing desk, rearranged monitors, new workspace — treat it as an opportunity to reset the whole system rather than patching over the old one. A full reset takes 90 minutes and produces something far cleaner than incremental patches ever would.
What a Tidy Desk Actually Does for You
Once your cables are managed, you’ll notice a few things quickly.
Your desk is easier to clean. No cable nest trapping dust and crumbs in unreachable spots — you can wipe the whole surface in 30 seconds.
Your focus sharpens. Visual clutter competes for attention even when you’re not directly looking at it — clearing it reduces the ambient cognitive load your brain carries through a full workday. That effect compounds over eight hours.
Video calls look better. Even a modest improvement to your on-camera background — a clean desk with no visible wire chaos — projects more professionalism than you’d expect from the effort involved. It’s a low-effort, high-return signal.
And perhaps most importantly: you stop noticing it. The cables that were quietly irritating you every single day disappear. That persistent low-grade friction clears. You get a workspace that works with you instead of against you.
Start with what you already have. Spend $15 on velcro ties and cable clips, spend an afternoon routing deliberately, and gauge how much better your workspace feels before investing in anything else. From there, you’ll have a clear picture of which permanent solutions — a cable tray, raceways, a grommet — are worth adding to your specific setup.
Frequently Asked Questions
Why does desk cable management matter?
Organized cables reduce trip hazards, prevent premature wire wear, and cut the visual clutter that undermines focus. A tidy setup also looks more professional on video calls.
How much does desk cable management cost?
Most solutions cost under $30 and can be completed in a single afternoon without straining your budget.
Is cable management just about appearances?
No. Visual disorder competes for your brain’s attention and reduces productivity, while tangled cables wear down faster and create safety hazards.


