Your camera is on, you’ve got something important to say — and you look like you’re broadcasting from a cave. The person on the other end of the call is squinting at a dark, shadowy version of you, and you can’t figure out why your colleague always looks so polished while you look like a witness in a true crime documentary.
Bad lighting isn’t a hardware problem. It’s not your webcam. It’s not even your internet connection. It’s almost always fixable in under an hour with gear you either already own or can buy for under $50.
Here’s exactly how to light your face for video meetings so you look confident, clear, and professional — every single call.
Why Your Current Lighting Is Making You Look Bad
Before fixing the problem, it helps to understand what’s actually going wrong. Most home office lighting fails for one of three reasons:
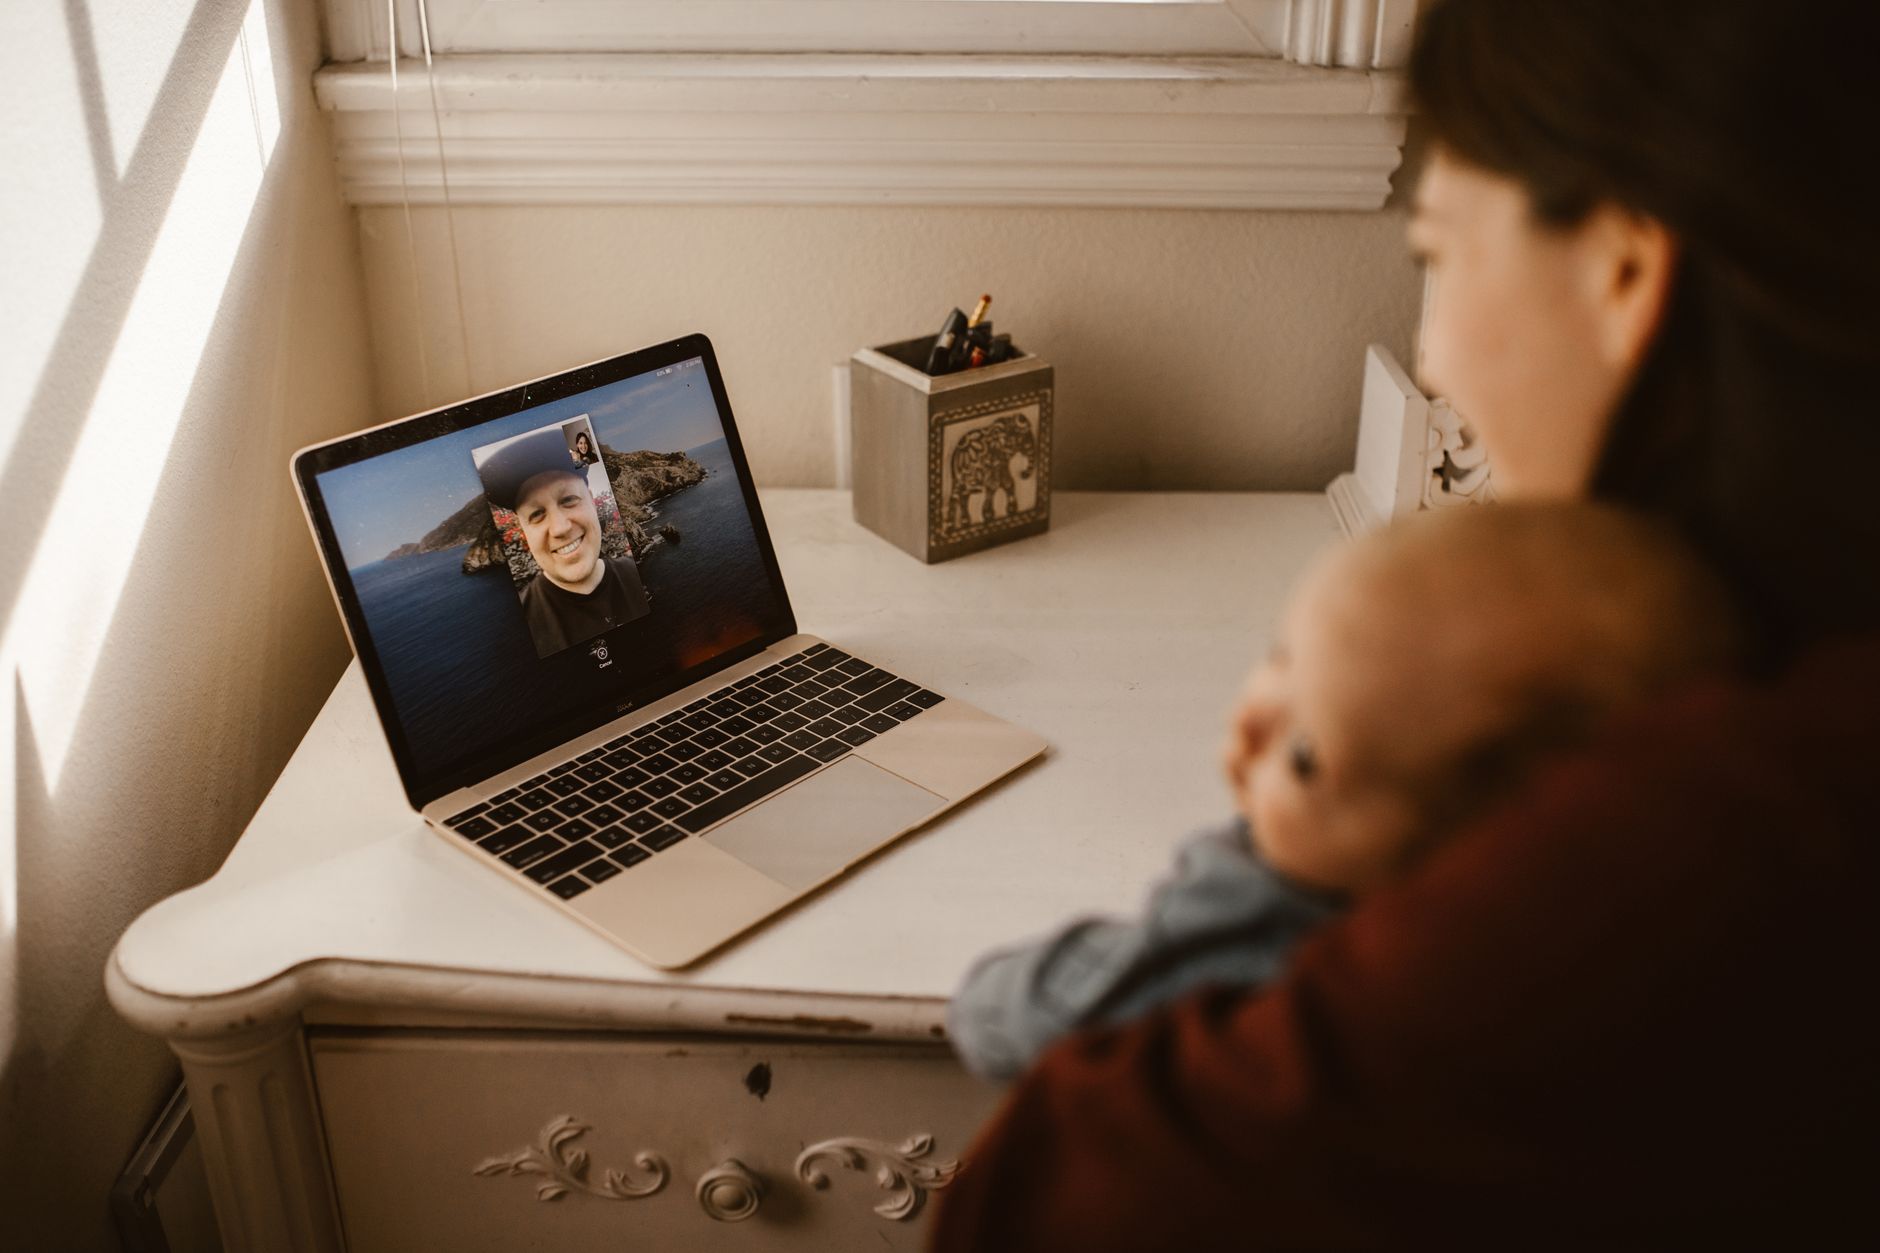
Backlight. You’re sitting in front of a window or a bright wall lamp. Your camera exposes for that bright background, turning you into a silhouette. This is the most common problem — and the easiest to fix.
Overhead light only. Ceiling lights throw harsh downward shadows under your eyes, nose, and chin. It’s unflattering in person and brutal on camera.
No light at all. Your room relies on ambient light that shifts throughout the day. Morning calls look different from afternoon calls, and neither one looks great.
Understanding these failures points you to three core principles: light direction, light quality, and light color temperature.
The Three Core Principles of Face Lighting for Video
 Foto: Matheus Bertelli
1. Direction: Light Should Hit Your Face from the Front
Move your light source in front of you, not behind or above you. That’s the single change that matters most.
The setup used by broadcasters and YouTubers is called front lighting — your key light sits roughly at eye level, slightly to one side, and faces you directly. This fills in shadows and gives your face dimension without looking flat or washed out.
If you’re sitting at a desk, your light source should be:
- In front of you, between your camera and your face
- Slightly elevated — just above eye level works well
- Positioned at roughly a 30–45 degree angle to one side for a natural look
2. Quality: Soft Light vs. Hard Light
Hard light comes from small, direct sources — bare bulbs, single LED panels without diffusion, direct sunlight through a small window. It creates sharp shadows and can look harsh on skin.
Soft light comes from larger or diffused sources — a lamp with a shade, a window with a sheer curtain, a ring light with a diffuser. It wraps around your face evenly and minimizes unflattering texture.
For video calls, you almost always want softer light. The bigger and closer the light source relative to your face, the softer it will be.
3. Color Temperature: Get Your White Balance Right
Light has a color measured in Kelvin (K). Lower numbers are warm (orange), higher numbers are cool (blue-white).
- 2,700–3,000K — warm, incandescent glow. Cozy, but can make skin look yellowish on camera.
- 4,000–4,500K — neutral white. Flattering and natural-looking for most skin tones.
- 5,500–6,500K — daylight/cool white. Crisp and sharp, great for productivity, but can look harsh.
For video calls, aim for 4,000–5,000K. Most adjustable LED lights let you dial this in. If your light has a fixed color temperature, check the label — anything in the 4,000–5,000K range works well.
How to Set Up Your Video Call Lighting Step by Step
You don’t need to buy anything fancy to start. Here’s the process, from free fixes to proper gear.
Step 1: Face a window
If you have a window in your home office, this is your best free light source. Position your desk so the window is in front of you, not behind you. Open your camera preview and you’ll see the difference immediately — natural daylight is soft, even, and flattering in a way that most artificial sources take real effort to replicate.
The catch: it changes throughout the day, and disappears entirely at night. But if your calls happen during daylight hours, this alone solves most of the problem.
Add a sheer white curtain to diffuse direct sunlight on bright days — it turns harsh direct sun into a beautiful soft light source.
Step 2: Eliminate or control backlighting
Close the blinds on any windows behind you. Turn off or dim any lights behind your head. Your camera’s automatic exposure is fighting against those bright sources instead of optimizing for your face.
Step 3: Add a primary light source in front of you
This is your “key light” — the main light hitting your face. Options include:
- A desk lamp with a daylight bulb (4,000–5,000K), positioned slightly to the side of your monitor
- A ring light mounted above your monitor or camera
- A dedicated LED panel light on a small stand
Position it so the light is roughly at eye level or just above, angled toward your face rather than pointing straight ahead.
Step 4: Soften the light if needed
If your light source looks too harsh — sharp shadows under your nose and chin — diffuse it. Options:
- Use a lamp shade or frosted bulb
- Add a diffusion filter to an LED panel
- Bounce the light off a white wall or foam board instead of pointing it directly at you
Step 5: Add a fill light or reflector on the other side
If one side of your face is noticeably darker than the other, a fill light or a simple reflector evens it out. You can buy a small reflector for under $15, or tape white foam board to a box next to your monitor. It bounces your key light back onto the shadowed side of your face.
Step 6: Check your setup on camera before the meeting
Open your video app, turn on the camera preview, and check:
- Is your face evenly lit with no harsh shadows?
- Does your skin tone look natural, not too orange or too blue?
- Is the background brighter or darker than your face?
- Do you look like yourself?
Adjust position and intensity until the answer to all of these is satisfying. It takes five minutes and saves you from looking washed out on every call.
Gear Comparison: Which Lighting Option Is Right for You?
 Foto: Kyle Loftus
| Option | Cost | Quality | Flexibility | Best For |
|---|---|---|---|---|
| Window light | Free | Excellent (when good) | Low — weather/time dependent | Daytime-only callers |
| Desk lamp + daylight bulb | $20–40 | Good | Medium | Budget setups |
| Ring light (10–14 inch) | $30–60 | Good–Very Good | High | Solo video, vlogging style |
| LED panel with stand | $50–120 | Excellent | Very High | Power users, frequent calls |
| LED panel + diffuser | $80–150 | Professional | Very High | Daily meetings, executives |
| Softbox kit | $60–100 | Professional | Medium | Dedicated home studio |
For most remote workers, a 14-inch ring light or a small LED panel with a basic stand hits the sweet spot of quality, cost, and convenience. They’re adjustable, they work at night, and they’re easy to position correctly.
If you’re on calls all day and your image matters to your business — client-facing roles, sales, consulting — a proper LED panel with diffuser is worth the upgrade. Compare them side by side and the difference in skin rendering and shadow softness is immediately clear.
Common Lighting Mistakes (and How to Fix Them)
Mistake: The Ring Light Halo Effect
Ring lights create a circular reflection in your eyes, which looks slightly unnatural up close. If this bothers you, move the ring light slightly above eye level and angle it down at about 15 degrees. You can also use a softbox or LED panel instead for a more natural catchlight.
Mistake: Mixing Color Temperatures
If you have a warm lamp on one side and a cool LED on the other, you’ll get odd-colored shadows on your face. Your camera doesn’t know which color to balance for, so it picks one and the other looks wrong.
Fix: match all your light sources to the same color temperature. If you’re using natural window light plus a lamp, choose a bulb in the 5,000–5,500K range to match daylight.
Mistake: Light Too Far Away
The farther a light source is from your face, the harder and less flattering it becomes. Move your light closer — most people push it too far back. A 14-inch ring light at arm’s length is noticeably softer than the same light placed across the room.
Mistake: Camera Angle Fighting the Light
Your webcam should be at eye level or slightly above. If your camera is below eye level — like a laptop sitting flat on a desk — you’re pointing it up toward the ceiling lights, which makes overhead lighting worse and makes it harder to aim your key light effectively.
Raise your laptop or external monitor so the camera sits at eye level. This one change improves both your lighting angle and how you read on screen.
What Great Video Call Lighting Actually Looks Like
 Foto: RDNE Stock project
When your setup is right, you’ll notice a few things:
- Your face is evenly lit with no harsh shadows under your eyes or along your nose
- Your skin tone looks natural and close to how you look in person
- You’re clearly the brightest, most in-focus element in the frame — not the window behind you
- Both sides of your face are visible, with only slight shading on the non-lit side to create natural dimension
- Your eyes look bright and engaged
Good lighting is invisible. People aren’t thinking about your setup — they’re focused on what you’re saying. That’s the goal.
You don’t need to look like you’re filming a Netflix special. You need to look competent, present, and trustworthy. Proper lighting does that silently, from the first frame.
Build Your Setup Today
Start with what you have. If your desk faces a window, flip your monitor around and check your camera preview right now. If you’re relying on overhead ceiling lights, grab a desk lamp from another room and aim it at your face. You’ll see a difference before you spend anything.
When you’re ready to invest, a 14-inch ring light or a budget LED panel with a stand is all you need for a professional-looking video presence. Combined with correct positioning and matched color temperatures, you’ll look noticeably sharper than most people on any video call — without anyone being able to say exactly why.
If you’re serious about your remote work setup, pair your new lighting with a quality webcam and a clean, uncluttered background. Check out our guide to building a professional home office video setup for a complete walkthrough of every element that makes your video presence stand out — camera, audio, lighting, and background all working together.
Frequently Asked Questions
What’s causing the dark, shadowy appearance on my video calls?
The most common causes are backlight (bright window behind you), overhead lighting (which creates harsh shadows), or insufficient ambient light. Moving your light source in front of you, not behind or above, fixes the issue.
What is front lighting and why do broadcasters use it?
Front lighting positions your key light at roughly eye level, slightly to one side, facing directly at you. Broadcasters and YouTubers use this setup because it fills in shadows and gives your face dimension without looking flat.
Can professional video lighting be done on a budget?
Yes. Bad lighting isn’t a hardware problem with your camera — it’s fixable in under an hour with gear you already own or can buy for under $50.


